Objective: Prepare and send a document to be signed.
Español
English
Português
Steps:
1. Access the document repository #
From the sidebar, go to My Documents and locate the file you want to send for signature.

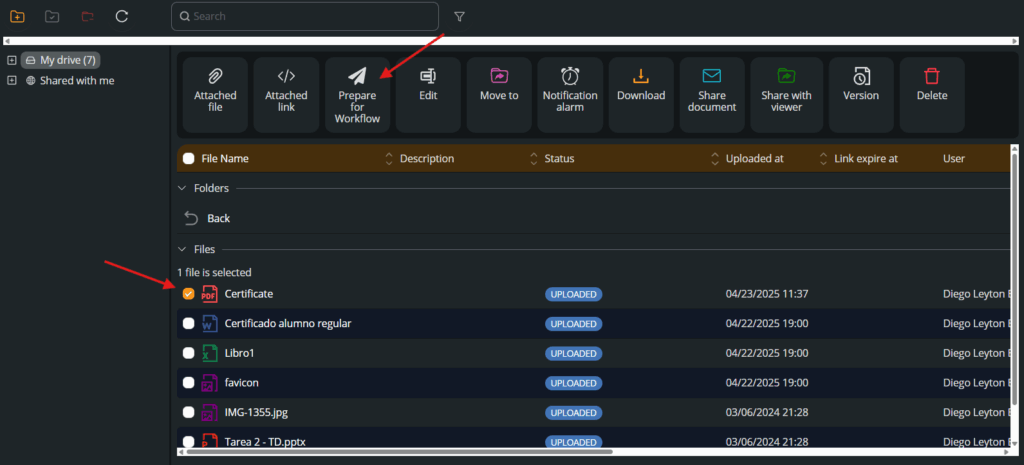
2. Select the document #
Click the checkbox next to the document to activate the top action bar and click on Prepare for Workflow.
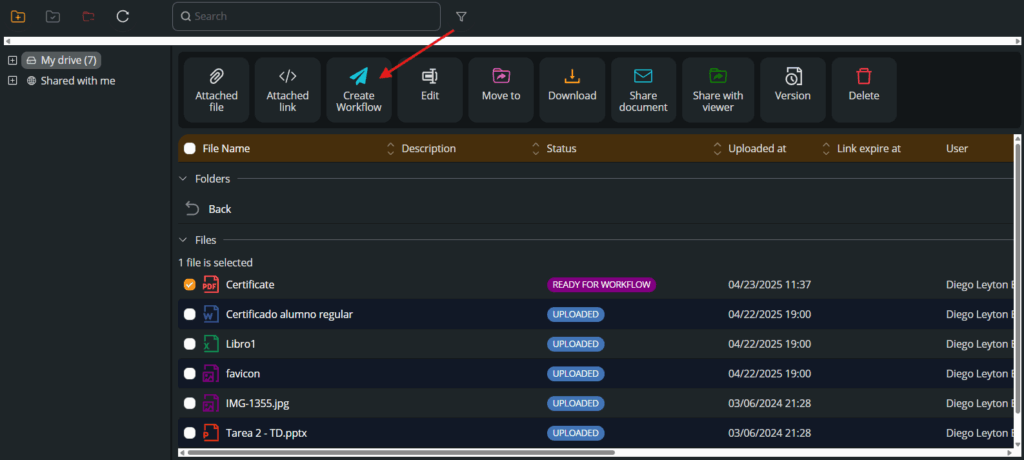
3. Prepare for workflow #
Click on Create Workflow to start the signing configuration process.
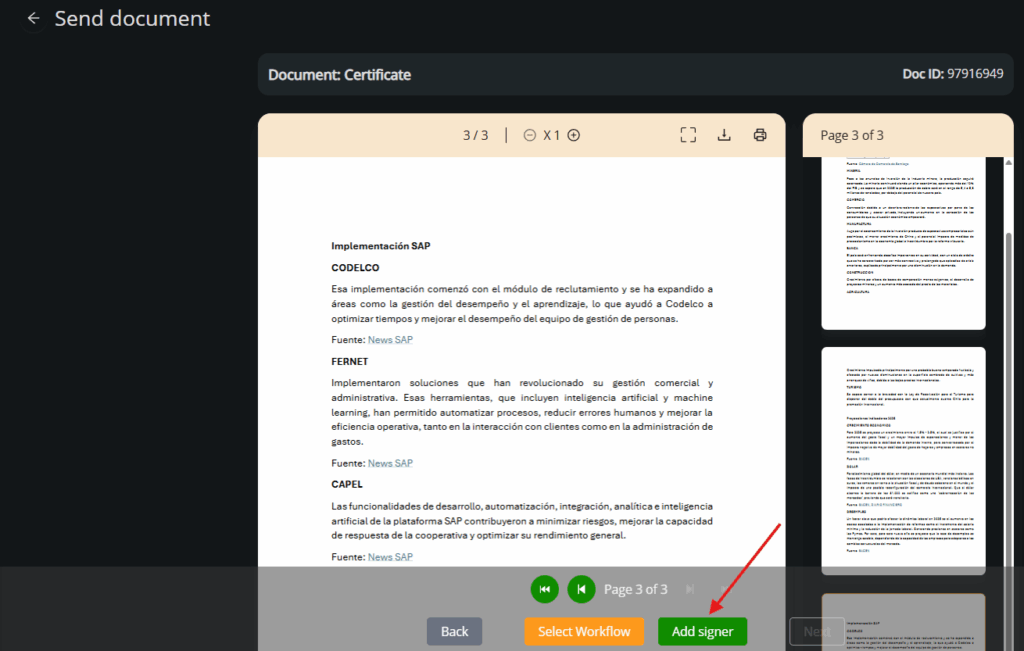
4. Add signer(s) #
Use the Add signer button to assign who will sign the document.
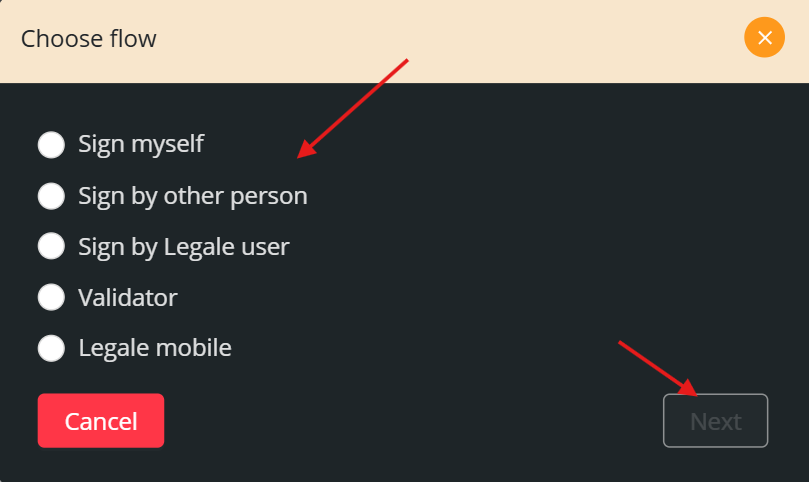
5. Choose the signature type #
Select one of the following options according to your case:
-
Sign myself
-
Remote
-
Remote SMS
-
Cloud certificate
-
Local certificate
-
Remote advanced signature
-
-
Sign by other person
-
Remote
-
Remote SMS
-
Remote advanced signature
-
-
Sign by Legale user
-
Cloud certificate
-
Local certificate
-
Define by signer
-
-
Validator
-
Contact
-
Legale user
-
-
Legale mobile
-
Select tablet
-
After selection, click Next.
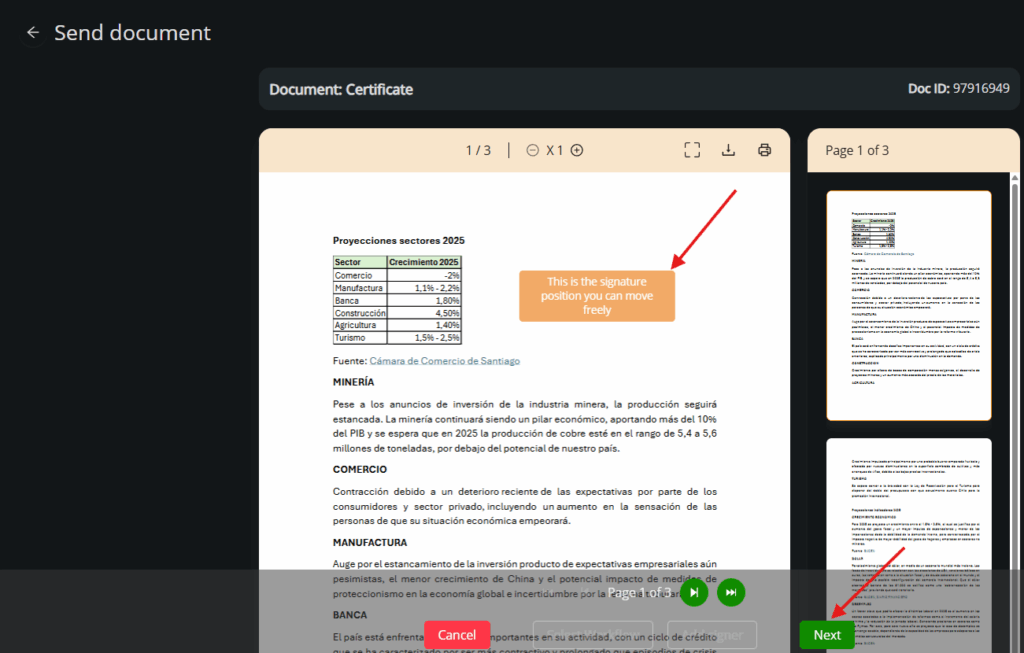
6. Adjust the signature position #
Drag the signature box to the desired location within the document and click Next to proceed.
7. Confirm signer and workflow #
Check signer details and click Next to configure the workflow.

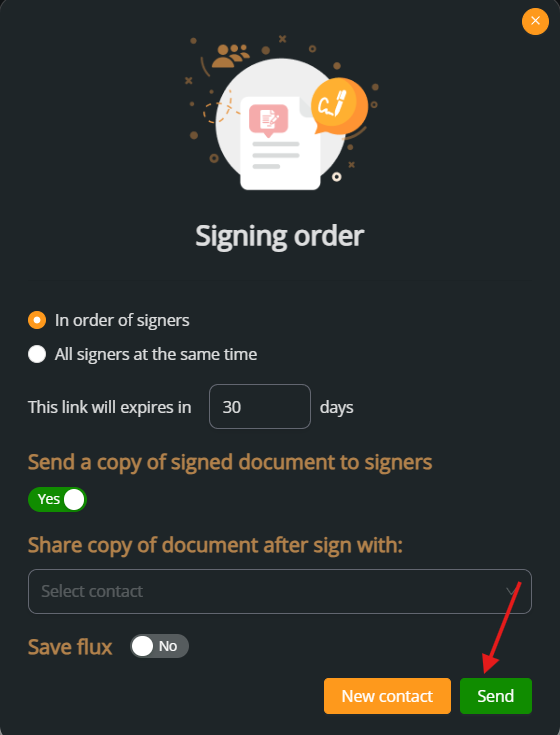
8. Final settings and send #
Choose whether signatures should be in order or simultaneous. Set expiration for the signing link and decide if a signed copy should be emailed.
Click Send to launch the process.
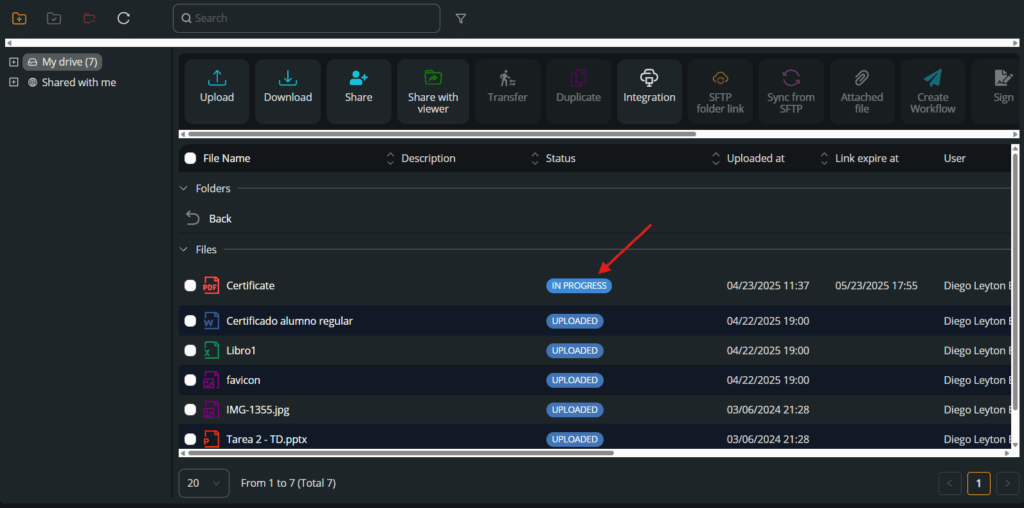
9. Check document status #
After sending, the document status will change to IN PROGRESS, indicating the signature process has begun.
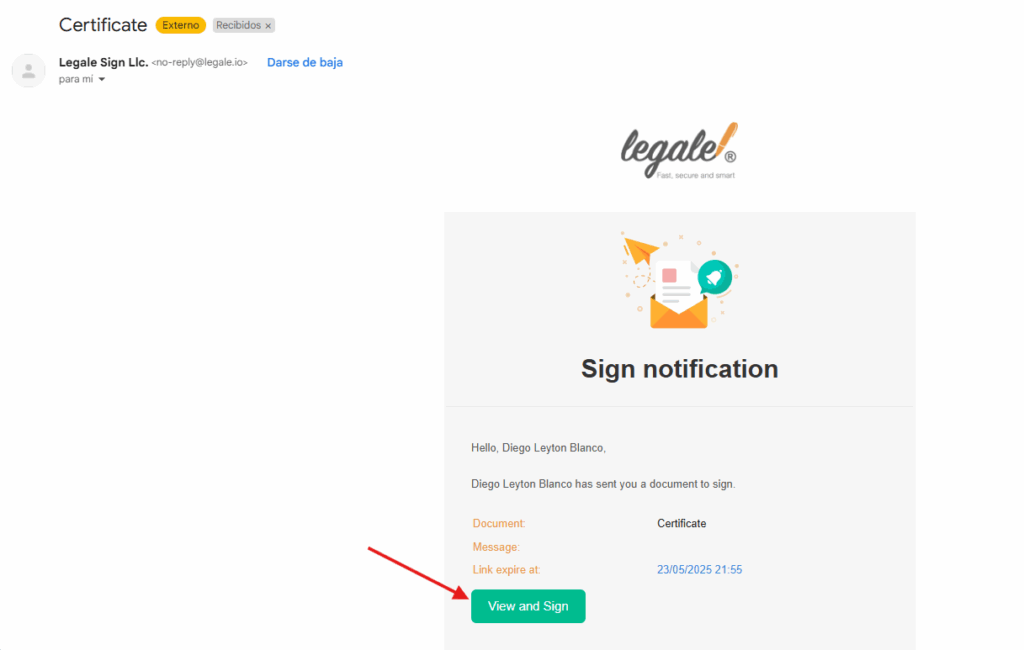
10. Email notification to signer #
The signer will receive an email with a secure link to View and Sign the document.
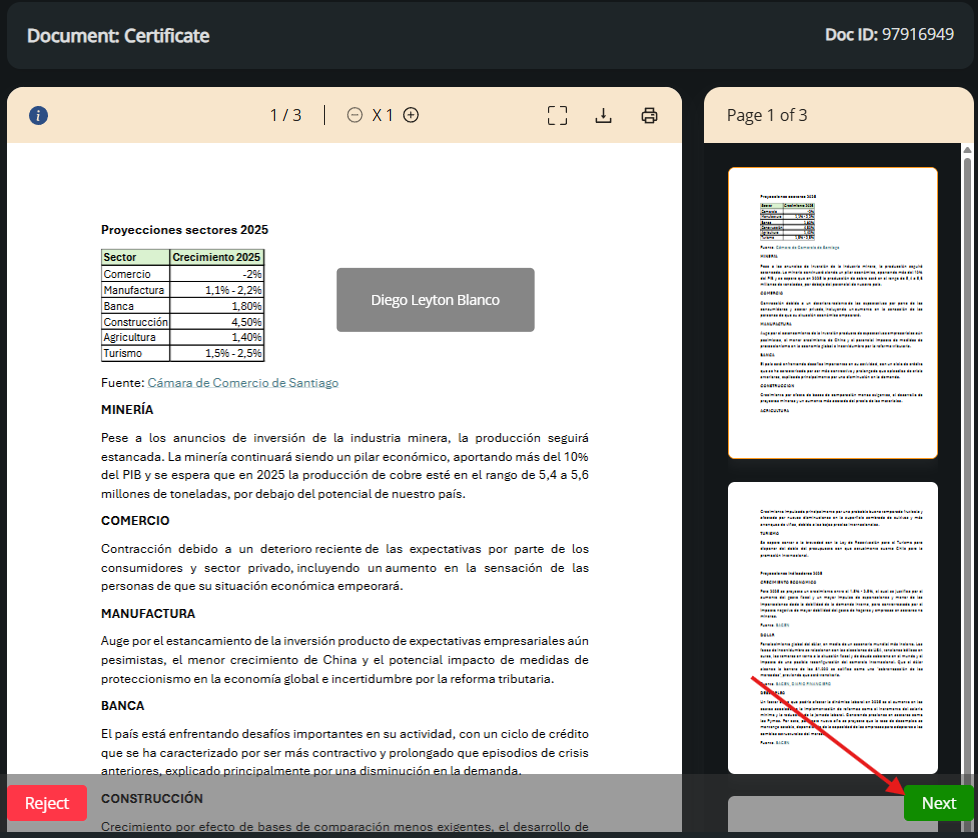
11. Signer reviews the document #
The recipient opens the signing link and reviews the document before proceeding. They can click Next to continue or Reject if the content is incorrect.
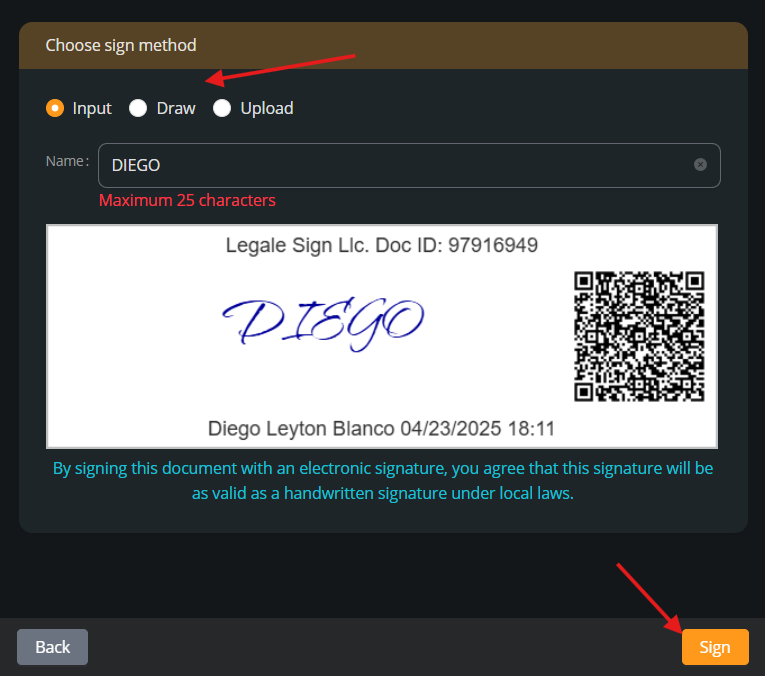
12. Choose the signing method #
The signer selects how they want to sign:
-
Input: Type your name.
-
Draw: Sign using a mouse or touchpad.
-
Upload: Use a pre-generated signature image.
Once ready, click Sign.
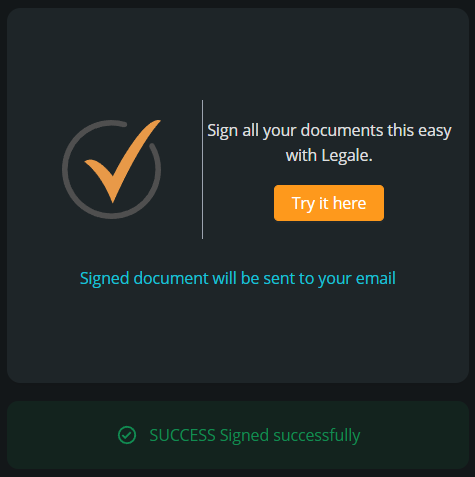
13. Confirmation of successful signature #
A success message is shown. The signed document will be sent automatically to the email address of the signer.
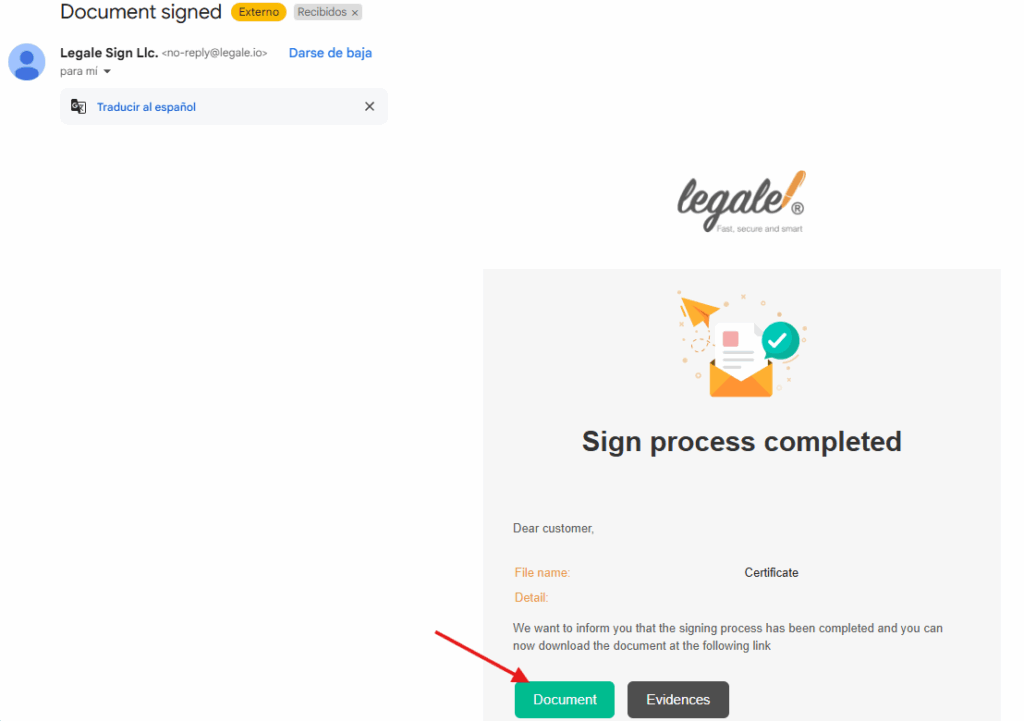
14. Email confirmation to the signer #
The signer receives an email titled “Document signed”, with secure links to:
-
Download the signed document
-
Access evidences
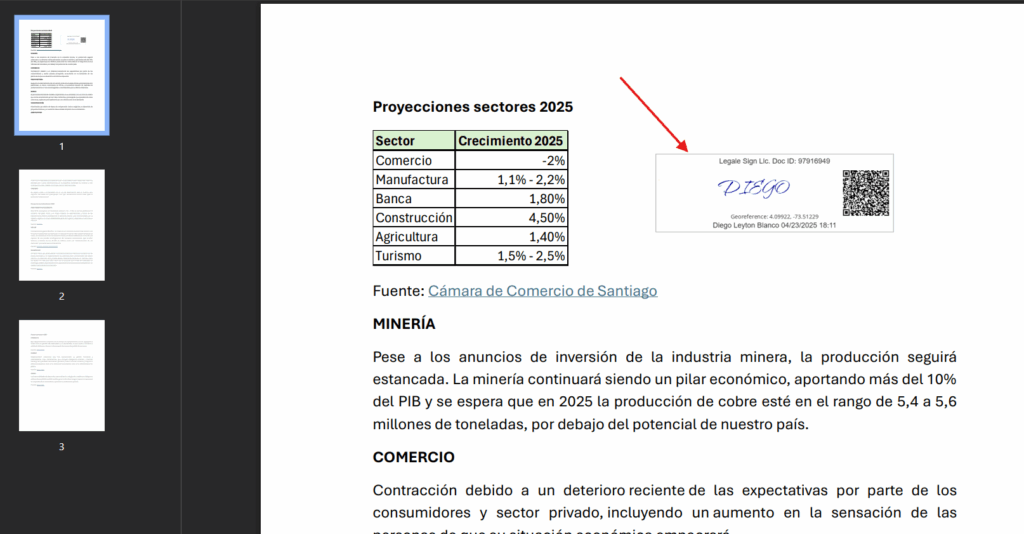
15. Visual confirmation of embedded signature #
The document now includes the electronic signature block with metadata (name, timestamp, QR, geolocation, etc.).
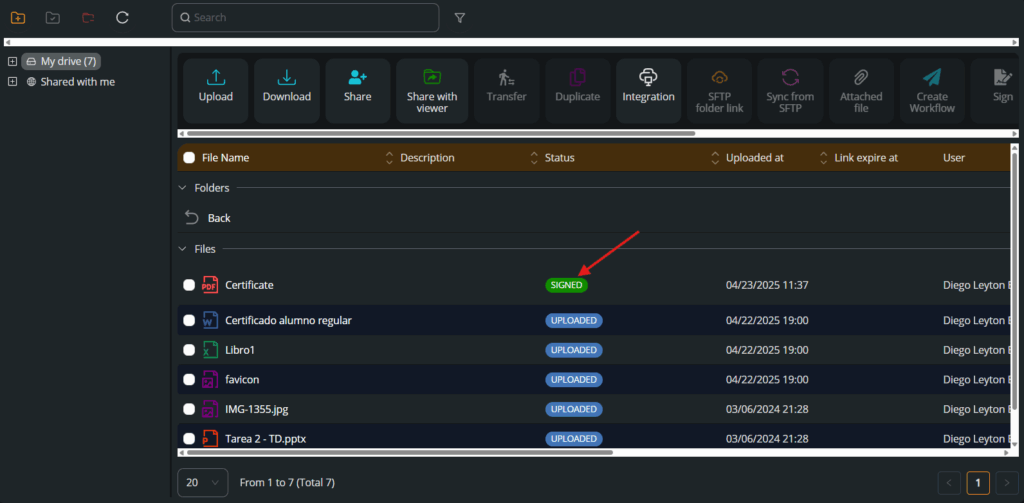
16. Document status is updated #
Back in My Documents, the file’s status changes to SIGNED, confirming that the process was completed successfully.